
How to set up a VPN server with WireGuard or OpenVPN on a Raspberry Pi

Updated
10 min read
RSS feedFinally, I got the time to configure a VPN server on the Raspberry Pi I have at home, and after a quick research, I found out that there is a community-driven project called PiVPN, which makes it very easy to set up a VPN server on a Raspberry Pi. The source code is available on GitHub under the MIT license, and it supports both WireGuard and OpenVPN protocols. Today, I’ll show you how to use it to set up a VPN server on a Raspberry Pi, in a step-by-step tutorial with images.
What is a VPN?
A VPN, or Virtual Private Network, is a technology that allows you to connect to the internet securely and privately. When you use a VPN, your internet connection is routed through a remote server, which encrypts your internet traffic and hides your IP address. This makes it much more difficult for anyone to monitor your online activity.
VPNs are commonly used to access geo-restricted content, such as streaming services or websites that are not available in your location. They can also be used to protect your online privacy, especially when using public Wi-Fi networks. Additionally, some businesses and organizations use VPNs to allow employees to access company resources securely from remote locations. In our case, setting a VPN server at home will allow us to access our home network remotely, including all devices connected to it that are not accesible from the public internet.
Why do I need a VPN? And why to self-host it?
There are two principal reasons why you might want to use a VPN:
- You are traveling to a different country, and want to access your favorite streaming service to continue watching a show. However, that streaming service or the show you want to watch is not available in that country.
- You are using a public Wi-Fi network, and want to protect your online privacy, ensuring no one in the network (either the network owner or malicious actors connected to it) can monitor your online activity.
But there are many other reasons why you might want to self-host your VPN server:
- You want to access your home network remotely, to access files or services that are only available in your home network (e.g. a local server only accesible from inside your home).
- Maybe you need to access a IP-capped service or server (e.g. your own VPS in a cloud provider like AWS o DigitalOcean) that you configured to only allows connections from the public IP of your home, but you are not there right now.
- You want to have full control over your VPN server and its configuration, and don’t want to rely on a third-party service.
- You don’t trust third-party VPN services, and want to ensure your privacy by self-hosting your VPN server.
- You won’t share bandwidth with other users, so you will get better performance.
- You’ll avoid some limitations that third-party VPN services might have, such as a limited number of simultaneous connections or P2P traffic restrictions.
- It’s free to run it! You only need to pay once for the hardware (a Raspberry Pi).
- It’s fun and geeky!
Configure a VPN server with WireGuard using PiVPN
I used wireguard to configure my VPN server at home. The reason I used Wireguard over OpenVPN is that it’s faster, more secure, and easier to set up and configure. It’s also more modern and has better support for mobile devices (less stress on the battery). It works out of the box with most devices and have easy-to-use official apps for every device and operative system.
If you are curious about the differences between WireGuard and OpenVPN, you can check a comparative analysis I wrote about them in another article, focusing on security, speed, and ease of use.
Setting an static IP address for your Raspberry Pi
So let’s get started! First, we need to set an static IP to the Raspberry Pi, so we can forward all the VPN traffic to it. There are multiples ways of achieve this, either manually configuring it in the /etc/dhcpcd.conf file, or by configuring your home router to assign a specific IP to the Raspberry PI by its MAC address.
For the first option, you need to know the local IP of your router (usually 192.168.0.1 or 192.168.1.1) and nest mask (usually 255.255.255.0, a.k.a. /24). Then, just add the following lines to the end of the /etc/dhcpcd.conf file:
interface eth0
static ip_address=192.168.1.6/24 # The IP you want to assign to the Raspberry Pi, plus the net mask.
static routers=192.168.1.1 # The IP of the router.
static domain_name_servers=1.1.1.1 1.0.0.1 # DNS servers to use.
You can use whatever DNS servers you want. Here, I use Cloudflare’s DNS servers, but you can use Google’s DNS servers (8.8.8.8 and 8.8.4.4) or use the default DNS server from your router (putting the same IP for the router).
For the second option, you first need to get the MAC address of the Raspberry Pi. which can we done by running the following command:
ip addr show eth0 | grep link/ether | awk '{print $2}'Now, you have to setup your router DHCP server to assign a static IP to that MAC address. However, every router is different, and you should check the documentation or the manual of your router to know how to do it.
After those changes, you might need to reboot the Raspberry PI to get the new network configuration.
Installing PiVPN
Now, we can start to install PiVPN on the Raspberry Pi. You can do it by running the following command:
curl -L https://install.pivpn.io | bashIt will download and launch the PiVPN installer script. Here we only need to select OK (press Enter).
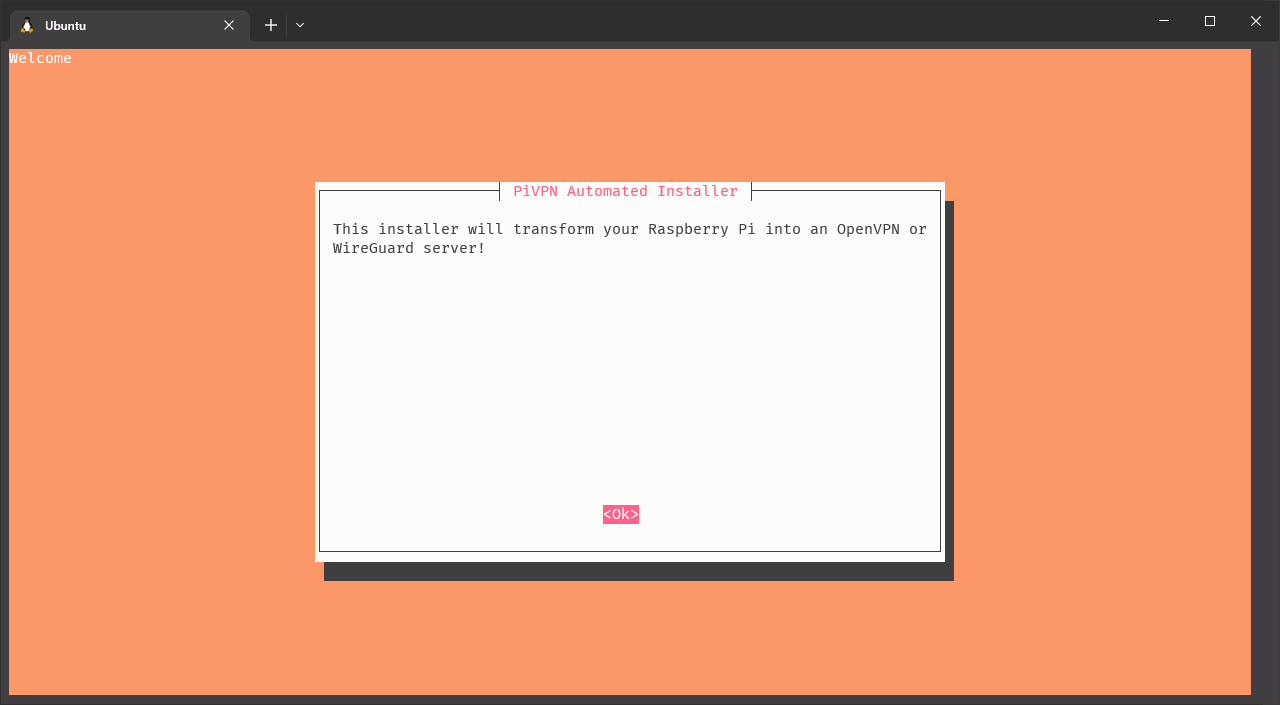
Click on image to enlarge
First, the installer warns us about the need of setting an static IP address for the Raspberry Pi.
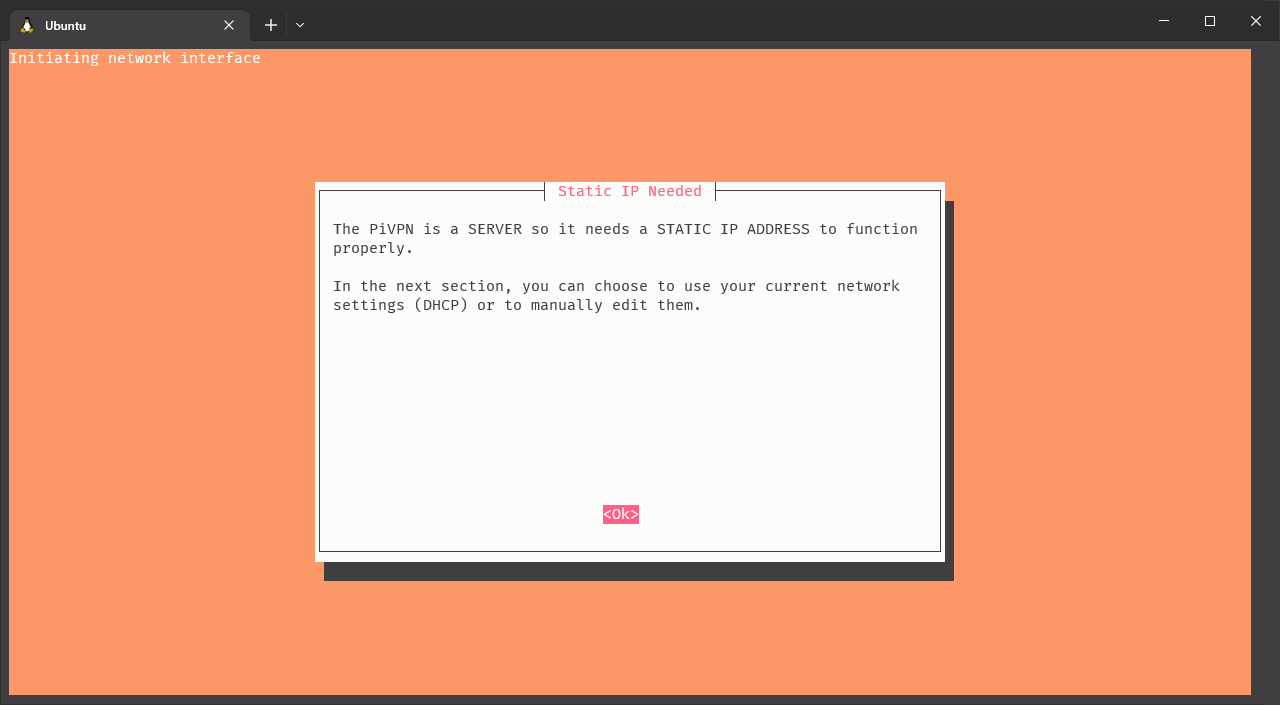
Click on image to enlarge
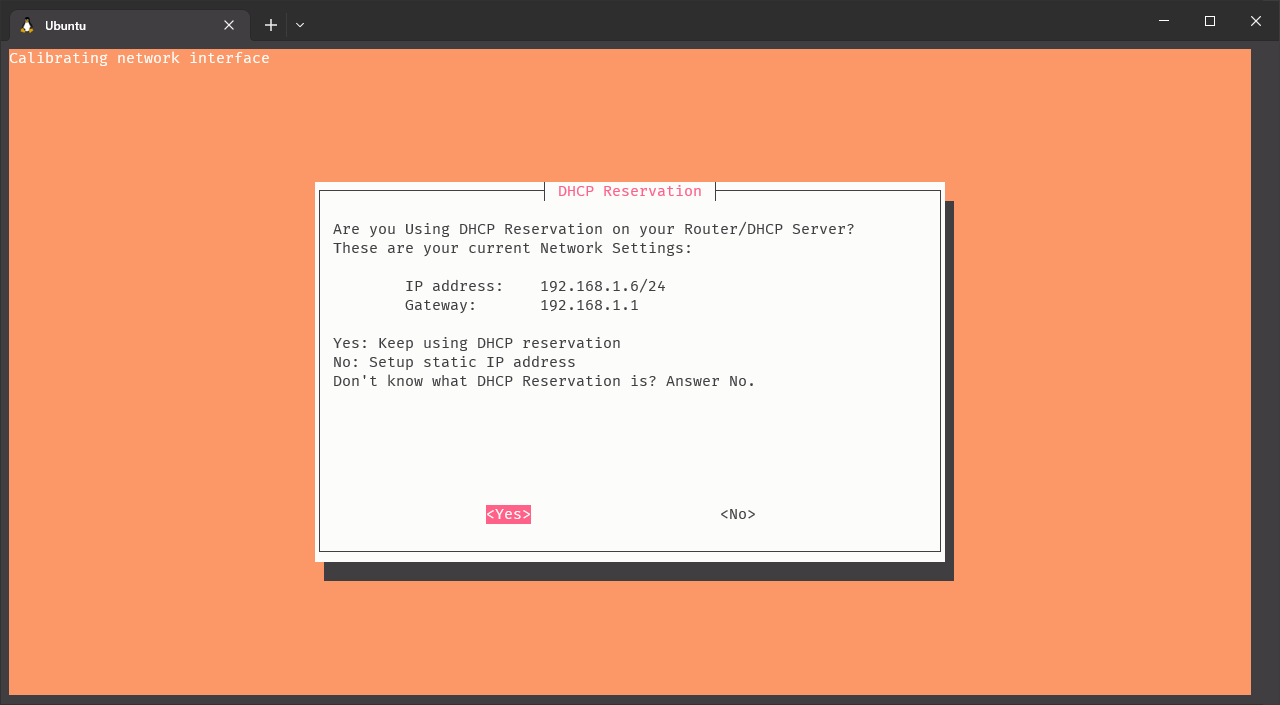
It should show the IP address we set before, so we can answer Yes and continue.
Click on image to enlarge
For better privacy, we can force al IPv6 connections to go through the VPN. This is optional and up to your preference.
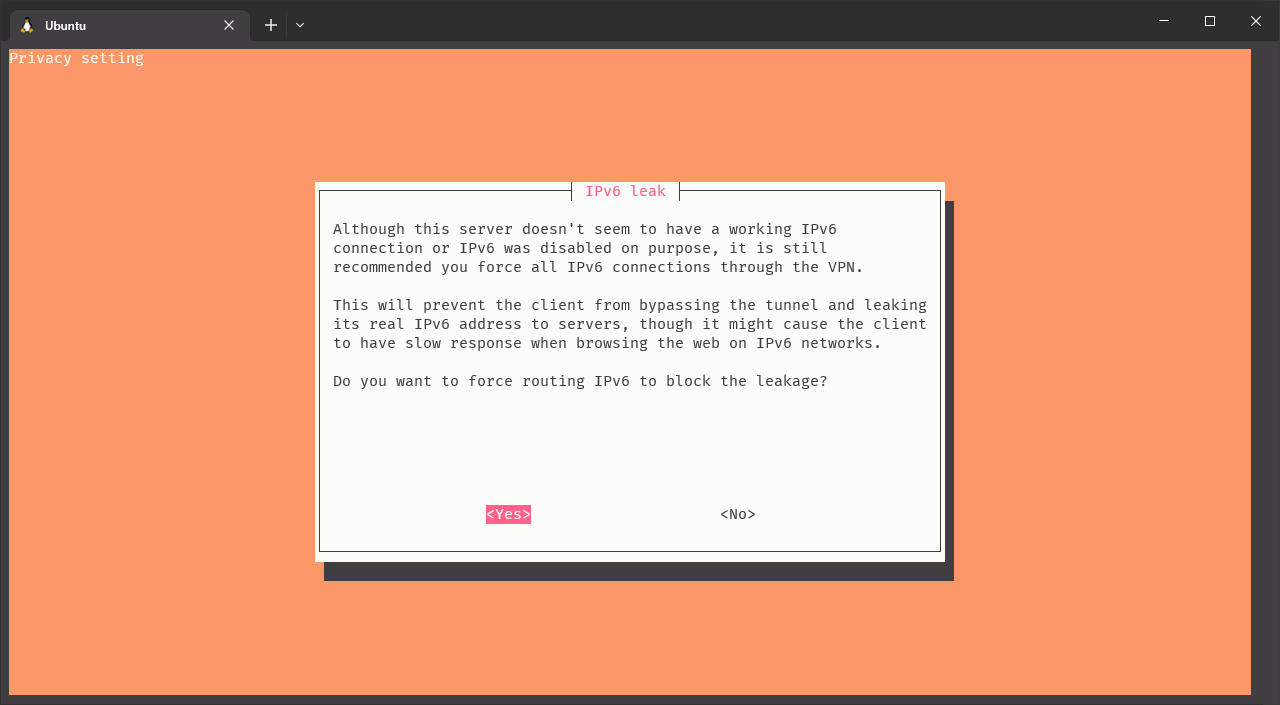
Click on image to enlarge
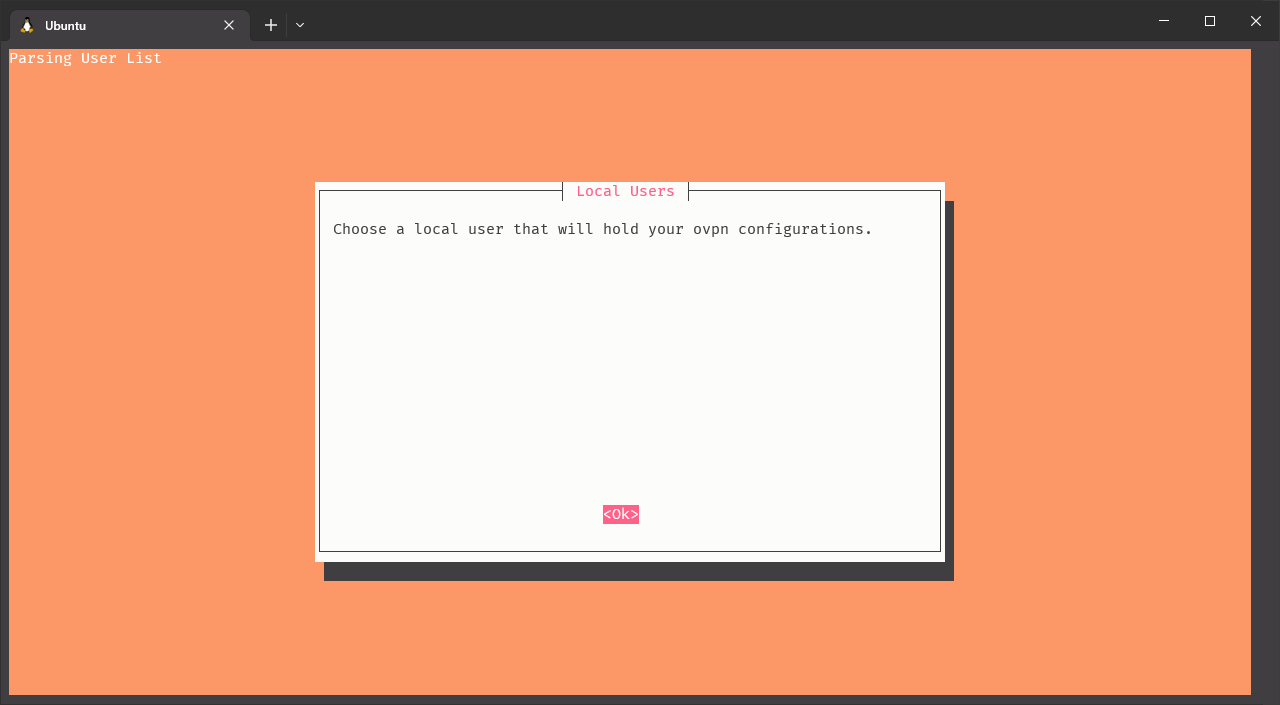
Now, it’s time to select a linux user that will be in charge of running the VPN.
Click on image to enlarge
It’s a good practice to always use separate users for separate services, with the less permissions needed, so I created a new user pivpn for that. However, you can use your user or the default pi user of the Raspberry Pi if you want.

Click on image to enlarge
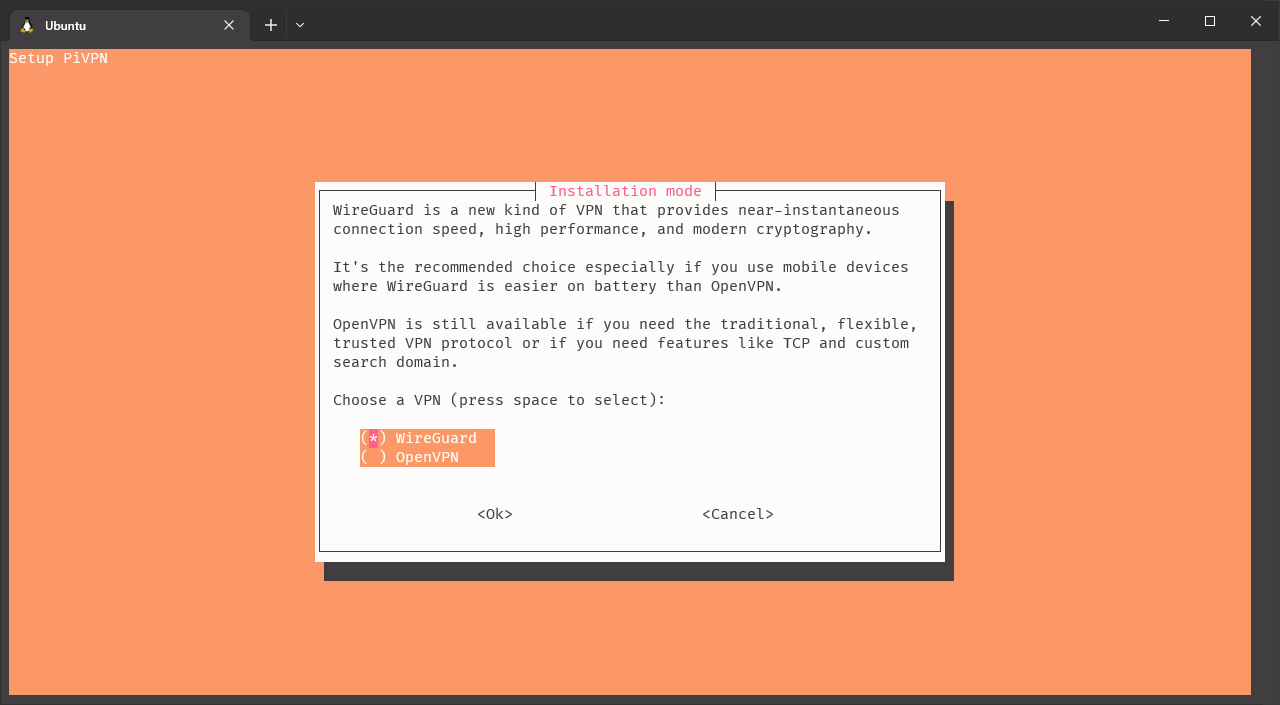
Now, select the VPN protocol you want to use. Here, I select Wireguard for the reasons explained at the beginning of this section, but you can select OpenVPN if you want.
Click on image to enlarge
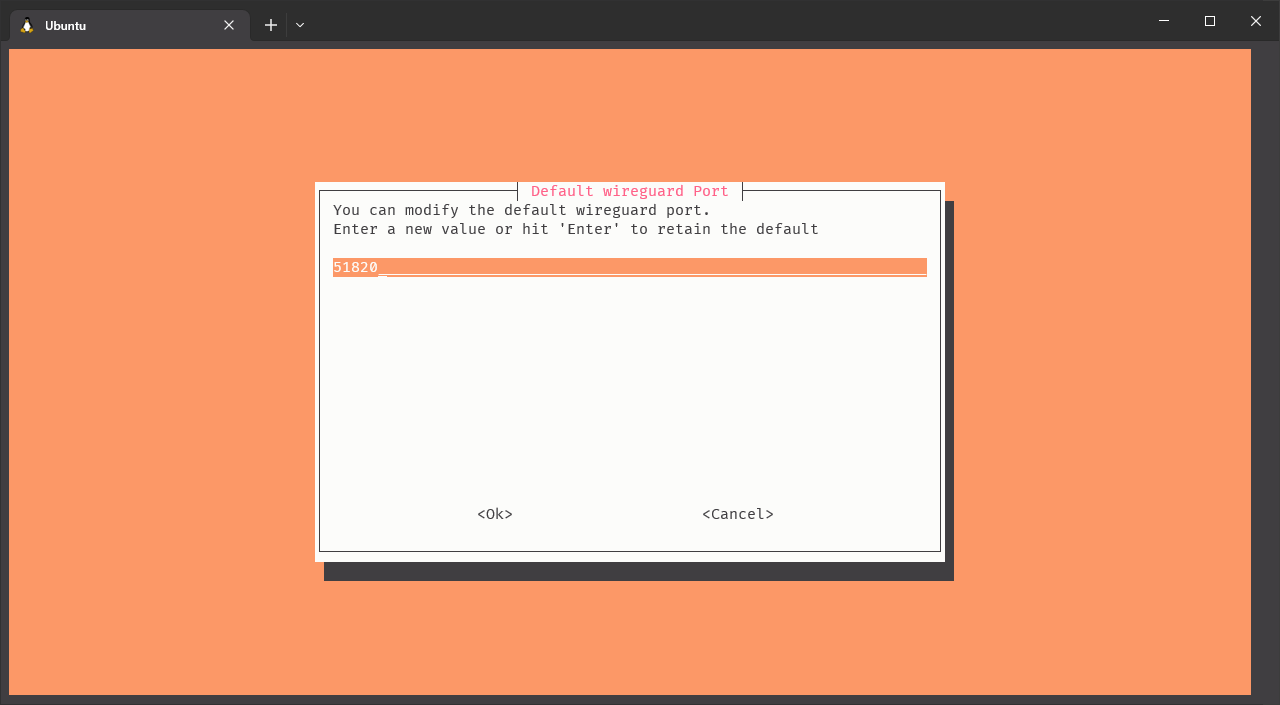
We can configure the port of the VPN server, or leave it as default. I’ll leave it as default.
Click on image to enlarge
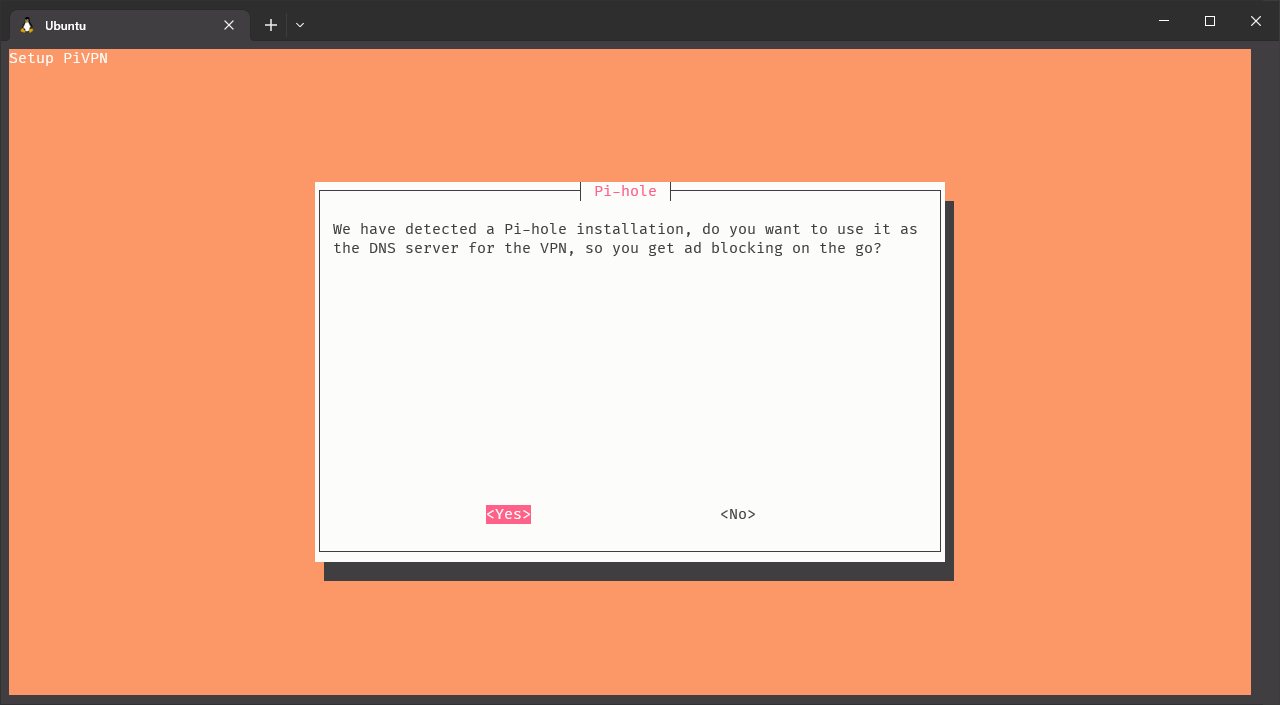
Not, it’s time to define what DNS servers do we want to use for the VPN traffic. In my case, I have a Pi-hole server running on the same Raspberry Pi, so I’ll configure the VPN server to use it as DNS server. If you don’t have a Pi-hole server, you will get a screen a bit different from this one, where you can select the DNS server you want to use. Remember that I told you before, while configuring the Raspberry Pi static IP, about some DNS servers you can use.
Click on image to enlarge
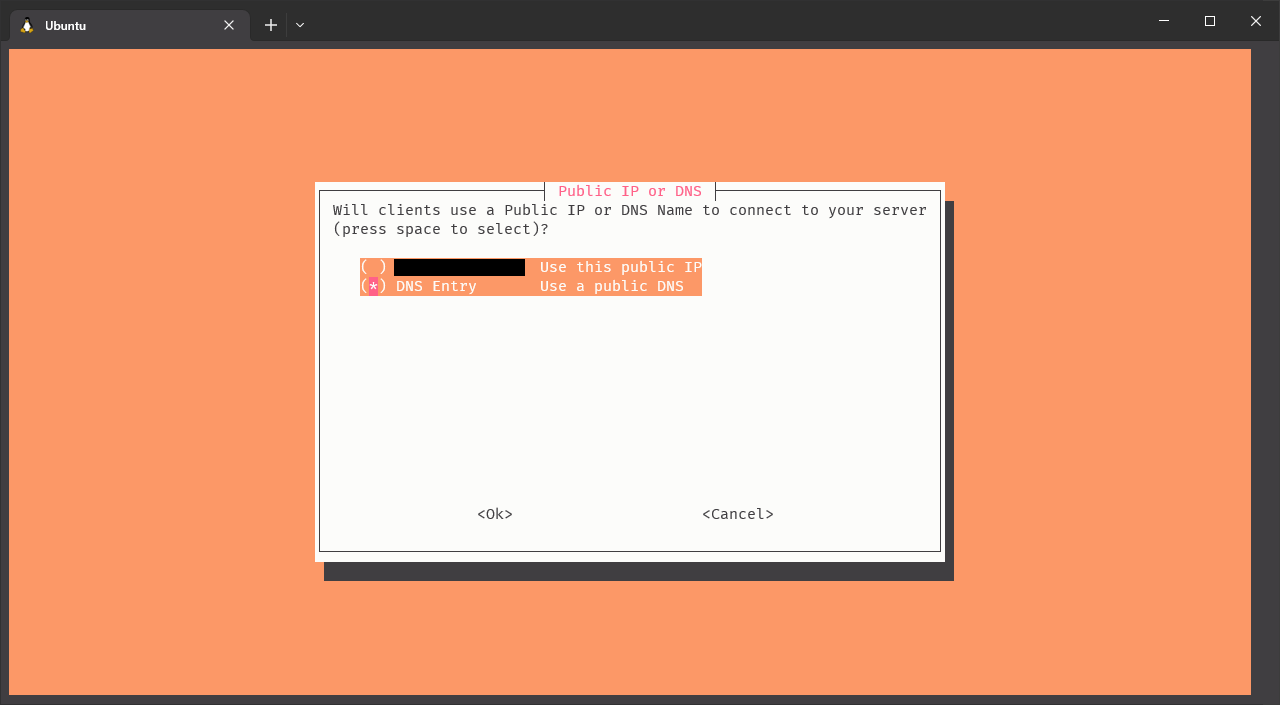
Now, it’s time to select how will you reach the VPN server in the Raspberry from the internet. If your ISP provides you with a static IP address (that is the public IP assigned to it never changes), you can use directly use it. Otherwise, if your IP changes from time to time (or if you don’t want to use the IP), you should use a DNS entry. For non-static IP addresses, you can use a DDNS provider like DuckDNS, No-IP or DynDNS. I cannot recommend any of them (as I don’t use any), so is up to you to investigate what do you prefer.
And important thing to note is that your router should be publicly accessible from the internet, regardless of if it uses a static or dynamic IP address. If you are behind a cg-NAT, you won’t be able to access your router from the internet, and therefore, you won’t be able to access the VPN server. If you are behind a cg-NAT, you should contact your ISP and ask them to remove it. Depending on your ISP, they can charge an small monthly fee for that.
Click on image to enlarge
The next steps are pretty straightforward. Now, the installer will generate the keys for the VPN server and install them.

Click on image to enlarge
It’s recommended to enable the unattended upgrades, so the Raspberry Pi will automatically install the security updates. You can do it later if you want, but I recommend to do it now.

Click on image to enlarge
And that’s it! The installation is completed. After that, the script should recommend you to reboot your Raspberry Pi. I highly encourage you to do it now.
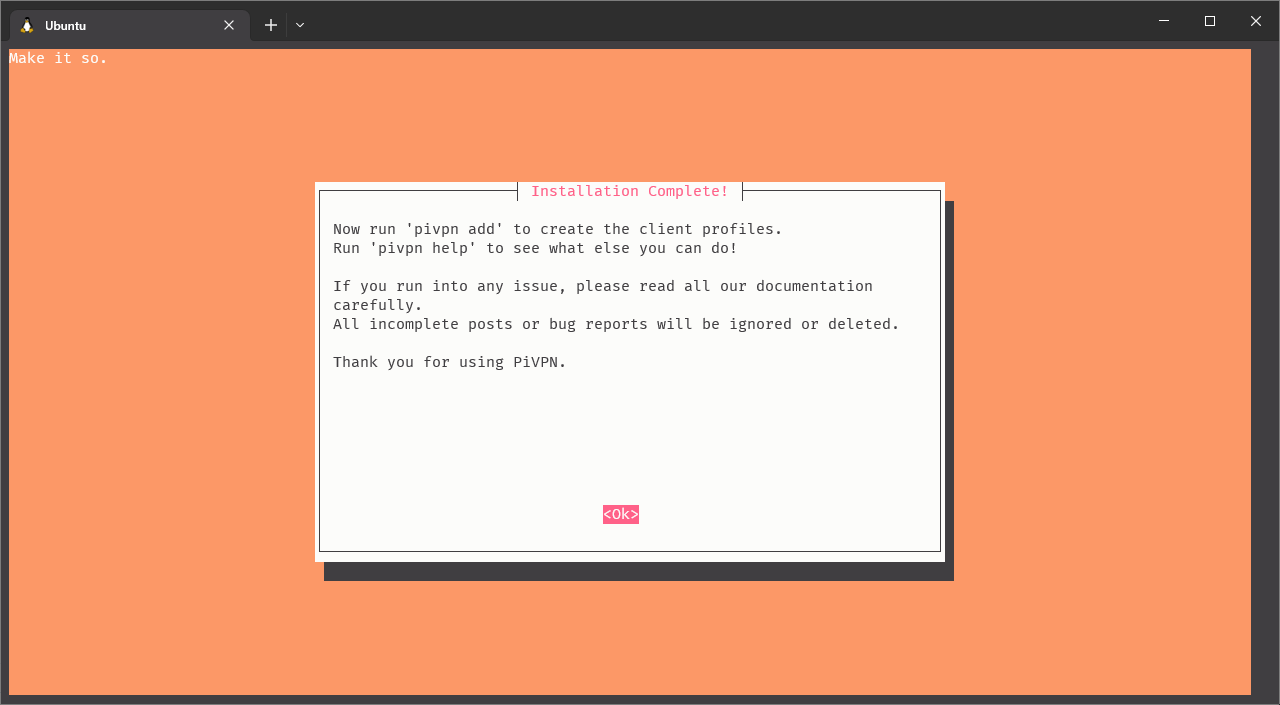
Click on image to enlarge
There is one last thing to do, and it’s to port forward the VPN traffic from our router to the VPN server in the Raspberry. Otherwise, when we try to connect to the VPN server, the traffic will comme from internet to our home router, and the router won’t know what to do with it. So, we have to tell the router to forward the traffic to the Raspberry Pi.
As before, every router is different and you should check the documentation or the manual for your router. However, the steps are pretty similar in most of the routers and here is a general guide for most router brands.
We’ll need to port forward UDP traffic from the port we selected before (51820 in my case) to the same port in Raspberry Pi IP address (192.168.1.6 in my case). If you configured a OpenVPN server instead (not covered in this tutorial) you should port forward UDP and TCP traffic to all ports configured during the installation.
Connecting to the VPN server
Now, it’s time to connect to the VPN server. For a Wireguard installation, we need to generate a profile for every device we want to connect to the VPN server. We can automate the process of generating the profiles by running the command sudo pivpn add and setting a name for the client. In my case, I’ll use My-MacBook-Pro as name.
$> sudo pivpn add
Enter a Name for the Client: My-MacBook-Pro
::: Client Keys generated
::: Client config generated
::: Updated server config
::: Updated hosts file for Pi-hole
::: WireGuard reloaded
======================================================================
::: Done! My-MacBook-Pro.conf successfully created!
::: My-MacBook-Pro.conf was copied to /home/pivpn/configs for easytransfer.
::: Please use this profile only on one device and create additional
::: profiles for other devices. You can also use pivpn -qr
::: to generate a QR Code you can scan with the mobile app.
======================================================================
As we can read from the command output, a configuration file was generated and stored under /home/pivpn/configs. This is only a copy, as client configuration files are stored under /etc/wireguard/configs, so you want to modify those in case you want to change something (which is not needed, as defaults are enough as long as you have follow the steps of this tutorial).
Here is an example of the /home/pivpn/configs/My-MacBook-Pro.conf I just generated:
[Interface]
PrivateKey = ...
Address = 10.228.96.2/24
DNS = 10.228.96.1

[Peer]
PublicKey = ...
PresharedKey = ...
Endpoint = ... # The IP or DNS entry and port you selected to reach the VPN server
AllowedIPs = 0.0.0.0/0, ::0/0
Now, we have to copy that file to the device we want to connect to the VPN server. Then, we just need to import it using the official Wireguard App. If the device is a smartphone or a tablet, we can generate a QR from the terminal to easily import it without the need to send the file to the device first. Just run the command sudo pivpn -qr and scan it using the app.
This way, we’ll install it and all configurations needed we’ll automatically handled by the app. After that, we’ll be able to select the new installed profile and connect to the VPN server. That’s it!