
How to set up a DNS server and block ads with Pi-Hole on a Raspberry Pi

Updated
9 min read
RSS feedSince a few months, I have been using a Raspberry Pi as a DNS server in my home network for some devices. I use it mainly to block ads and trackers in my SmartTV and FireTVs, but also to gain in privacy on those devices. In this article, I’ll explain you how to set up a DNS server on a Raspberry Pi with Pi-hole and remove ads from your network!
What is a DNS server?
A DNS server, which stands for Domain Name System server, is a fundamental component of the internet infrastructure. Its primary function is to translate human-readable domain names, such as aalonso.dev, into the corresponding IP addresses used by computers to communicate over a network.
When you enter a domain name into a web browser or any other application that requires internet access, the application sends a request to a DNS server. The DNS server then looks up the IP address associated with that domain name and returns it to the requesting application. With the IP address in hand, the application can establish a connection to the desired web server or network device.
DNS servers help facilitate the process of translating domain names into IP addresses, enabling users to access websites and other online resources by simply typing in familiar domain names rather than complex IP addresses. Without DNS servers, the internet would be a much more difficult place to navigate, and users would need to memorize long strings of numbers to access websites and online services.
Why to self-host my own DNS server?
Hosting your own DNS server may have a lot of advantages!
- Low latency. As your DNS server is in your own network, you’ll get the lowest latency possible when resolving domain names.
- Privacy. You won’t need to trust any third-party DNS server, as you’ll be running your own.
- Security. You can block malicious sites and those that are known to host malware in your entire network. Even phishing sites if you want.
- Ad blocking. You can use your DNS server to block ads and trackers in your entire network. As those ads are usually served from a series of well-known domains dedicated to advertising, you can block them by blocking the DNS resolution of those domains. This allows you to block ads in devices that don’t support ad blockers, such as SmartTVs, videogames consoles, etc.
- Parental control. You can use your DNS server to block access to certain domains, so you can prevent your children from accessing certain websites, like adults websites or betting shops.
- You can gather data and generate analytics: what are the most visited sites from your network, how often do you visit them, etc.
- It’s free to run it! You only need to pay once for the hardware (a Raspberry Pi).
- It’s fun and geeky!
However, there are also some disadvantages.
- You’ll need to maintain it and keep it up to date (but most or all of the tasks can be automatized).
- If you have only one DNS server, and that comes down, you won’t be able to resolve domain names, thus effectively breaking your internet connection. However, you can configure multiple DNS servers in your network (using multiple Raspberry Pi’s), so if one of them comes down, the other will take over.
Configure a DNS server using Pi-Hole
So let’s get started! First, we need to set an static IP to the Raspberry Pi, so we can ensure our DNS server IP won’t change over time.
Setting an static IP address for your Raspberry Pi
There are multiples ways of achieve this, either manually configuring it in the /etc/dhcpcd.conf file, or by configuring your home router to assign a specific IP to the Raspberry PI by its MAC address.
For the first option, you need to know the local IP of your router (usually 192.168.0.1 or 192.168.1.1) and nest mask (usually 255.255.255.0, a.k.a. /24). Then, just add the following lines to the end of the /etc/dhcpcd.conf file:
interface eth0
static ip_address=192.168.1.66/24 # The IP you want to assign to the Raspberry Pi, plus the net mask.
static routers=192.168.1.1 # The IP of the router.
static domain_name_servers=1.1.1.1 1.0.0.1 # DNS servers to use.
You can use whatever DNS servers you want. Here, I use Cloudflare’s DNS servers, but you can use Google’s DNS servers (8.8.8.8 and 8.8.4.4) or use the default DNS server from your router (putting the same IP for the router). Those DNS servers are to be used for the raspberry itself, but we can configure the Pi-hole server to use different upstream DNS servers later if we want.
For the second option, you first need to get the MAC address of the Raspberry Pi. which can we done by running the following command:
ip addr show eth0 | grep link/ether | awk '{print $2}'Now, you have to setup your router DHCP server to assign a static IP to that MAC address. However, every router is different, and you should check the documentation or the manual of your router to know how to do it.
After those changes, you might need to reboot the Raspberry PI to get the new network configuration.
Installing Pi-Hole
Now, we can start to install Pi-Hole on the Raspberry Pi. You can do it by running the following command:
curl -sSL https://install.pi-hole.net | bashIt will download and launch the Pi-Hole installer script. Here we only need to select OK (press Enter).
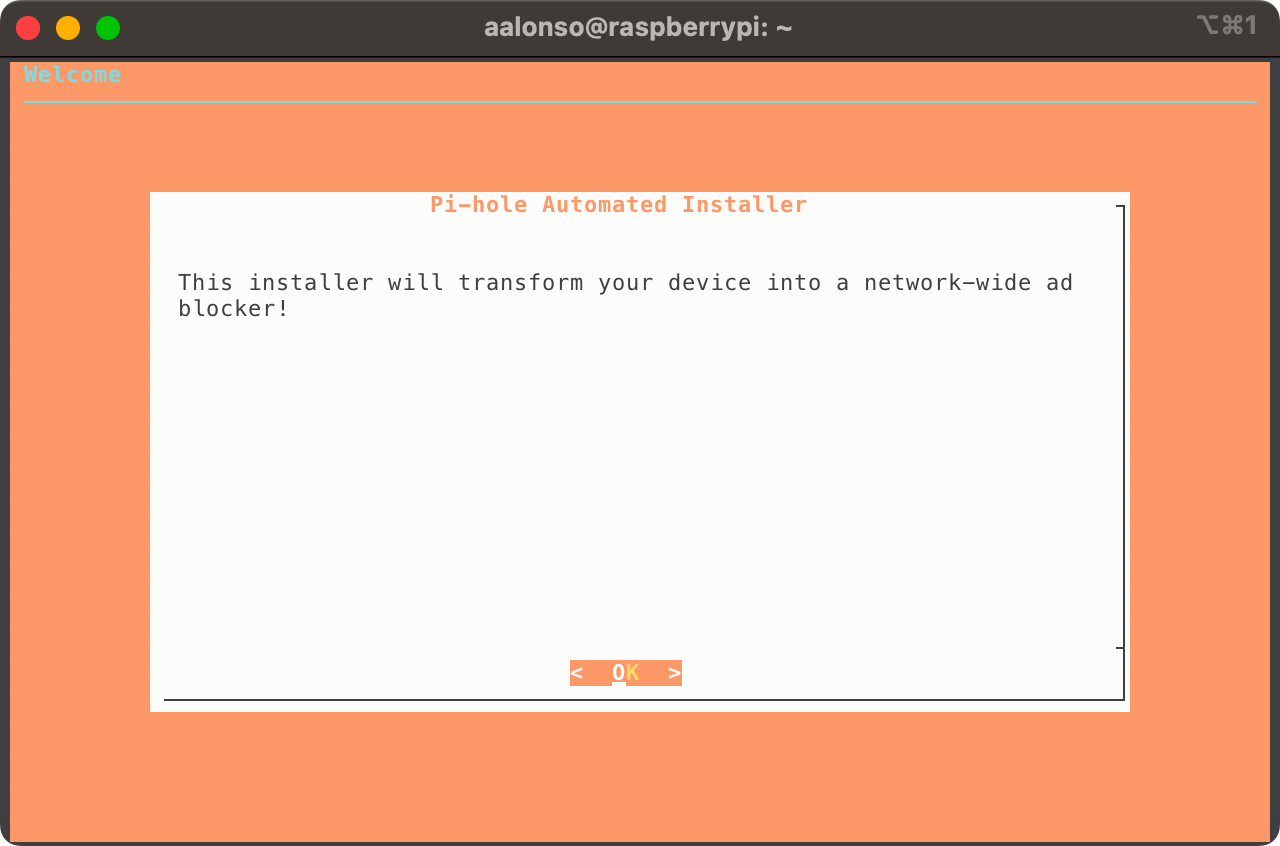
Click on image to enlarge
First, the installer warns us about the need of setting an static IP address for the Raspberry Pi. We already did that, so we can continue.
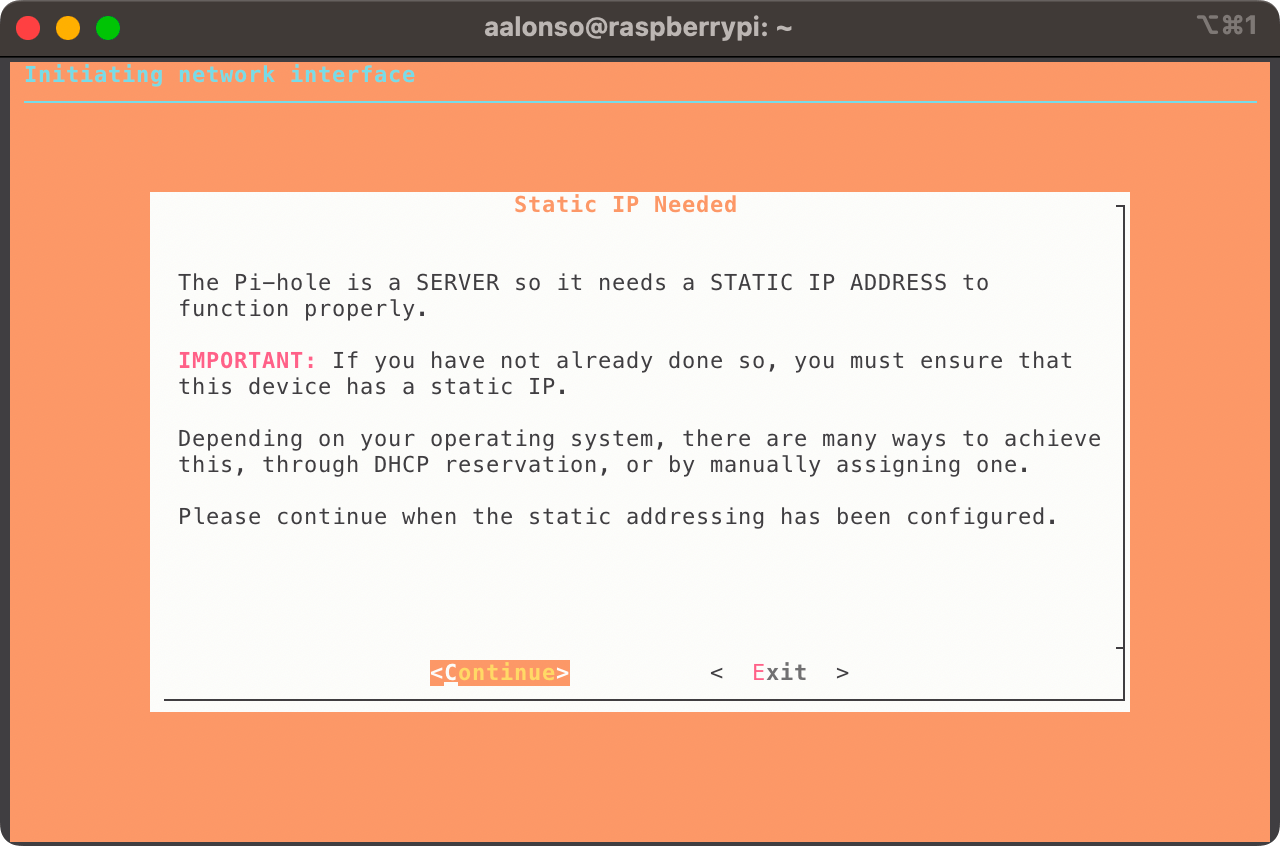
Click on image to enlarge
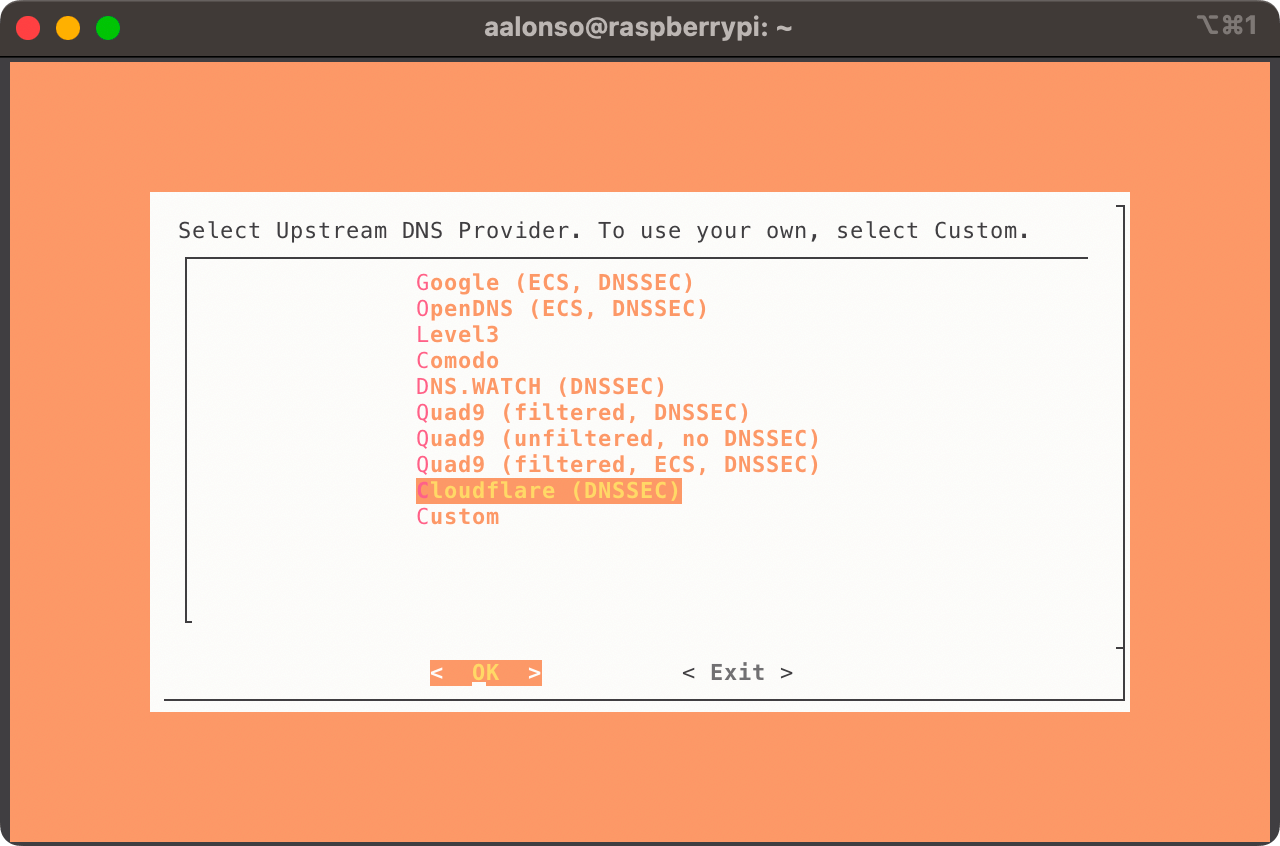
Now, we need to set up an upstream DNS server. This is the DNS server that Pi-hole will use to resolve domain names, as the Pi-Hole server itself doesn’t maintain a database of domain name <-> IP address. The choice here doesn’t affect the capability of the Pi-Hole to block ads and sites, so I would pick based on speed and trust in the provider.
We can use the default DNS server from our router, or use a third-party DNS server. Here, I’ll use Cloudflare’s DNS servers, but you can use whatever you want, as we did while setting the static IP of our Raspberry.
Click on image to enlarge
The installer suggest to install a default blocklist, to automatically start blocking ads and malicious sites out of the box. I recommend to do it, as it will save you some time. However, you can skip it if you want. Also, you can remove it later or add more blocklists. At the moment of writing this, the suggested list was StevenBlack’s Unified Hosts List.
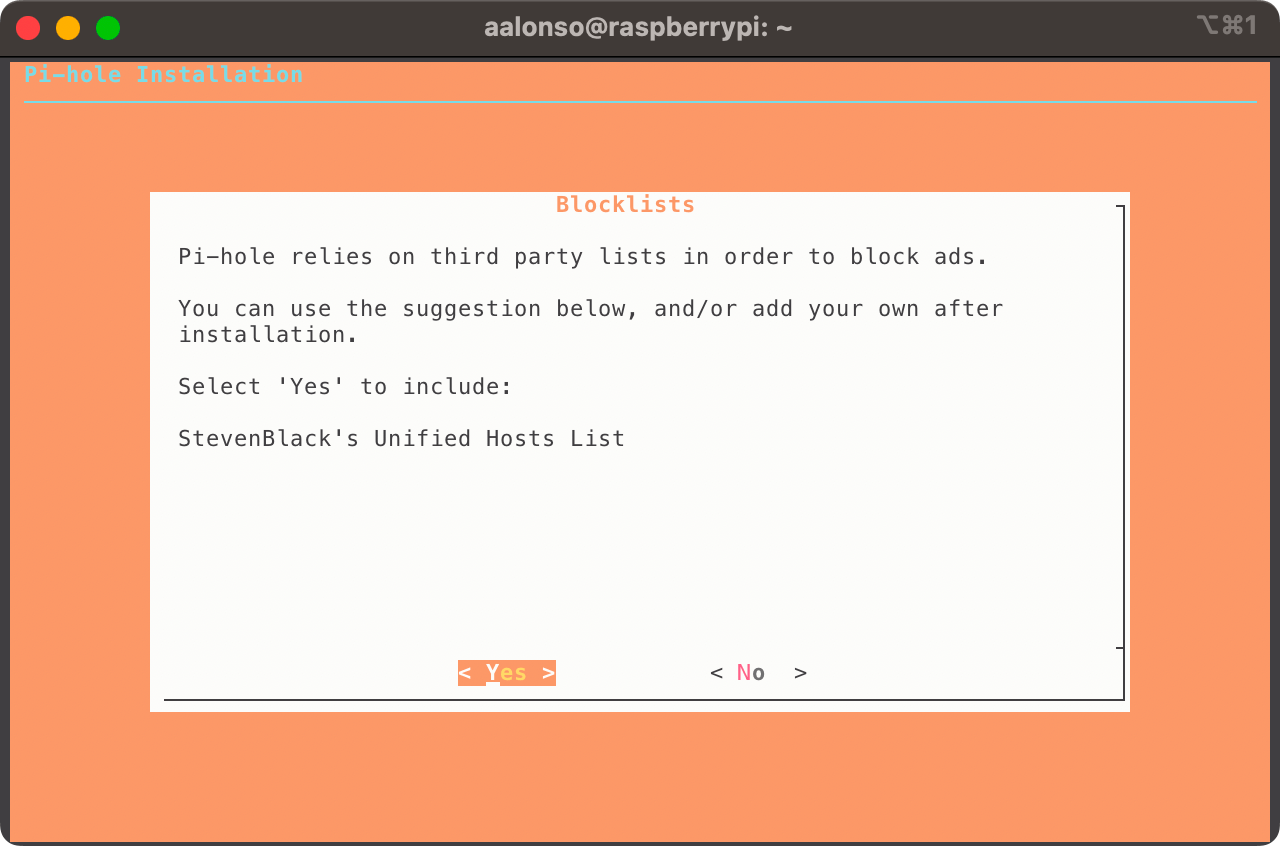
Click on image to enlarge
Now, it asks us if we want to install a admin web interface. While Pi-Hole can be configured and managed from the terminal or CLI using the pihole command, the web interface is a nice addition to easily manage it. I recommend to install it, but you can skip it if you want.
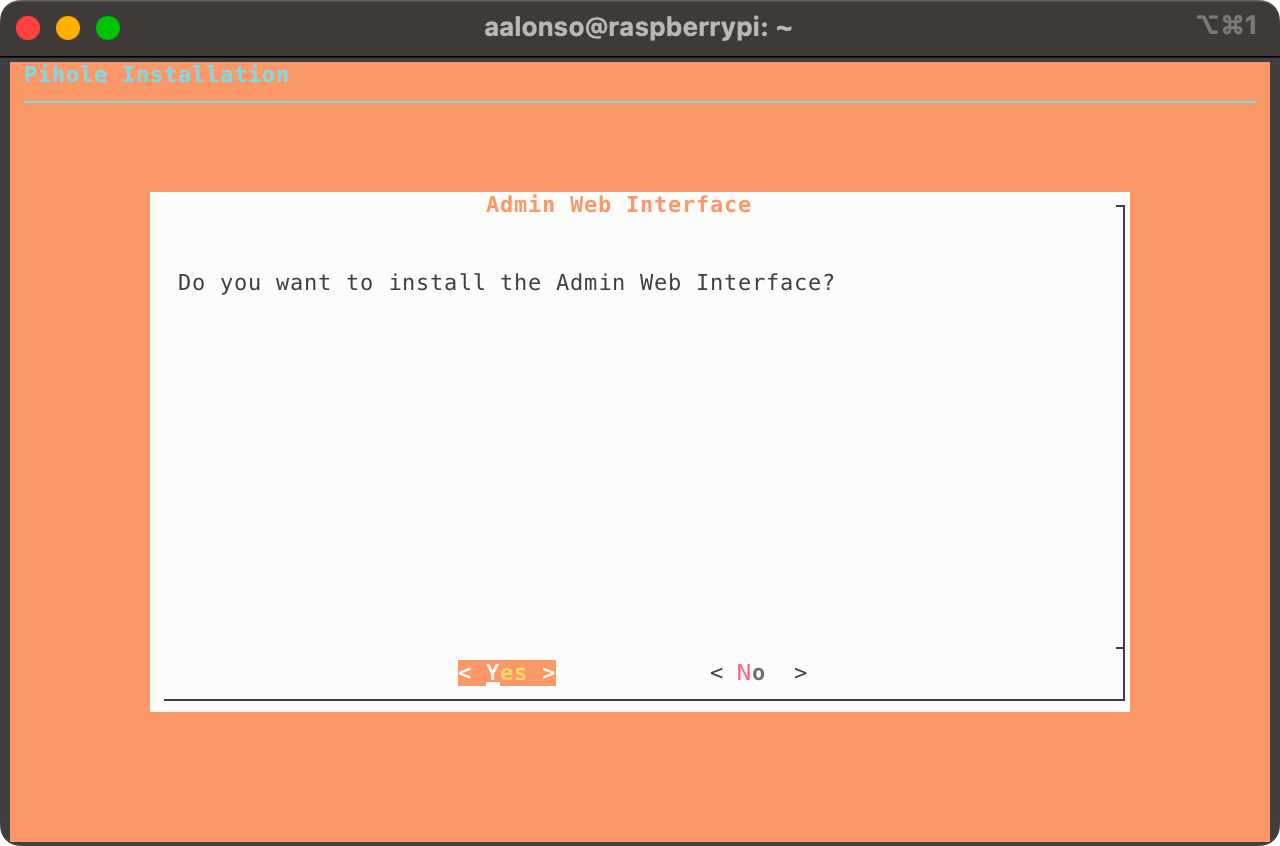
Click on image to enlarge
If you chose to install the admin web interface, you’ll be asked to install a lightweight web server to serve the web interface. You should install it unless you are using or want to use another web server, like Nginx, Apache or caddy, to serve the web interface. In that case, you might need to manually configure that web server. If you don’t know what to do, just install it and everything will be automatically configured.
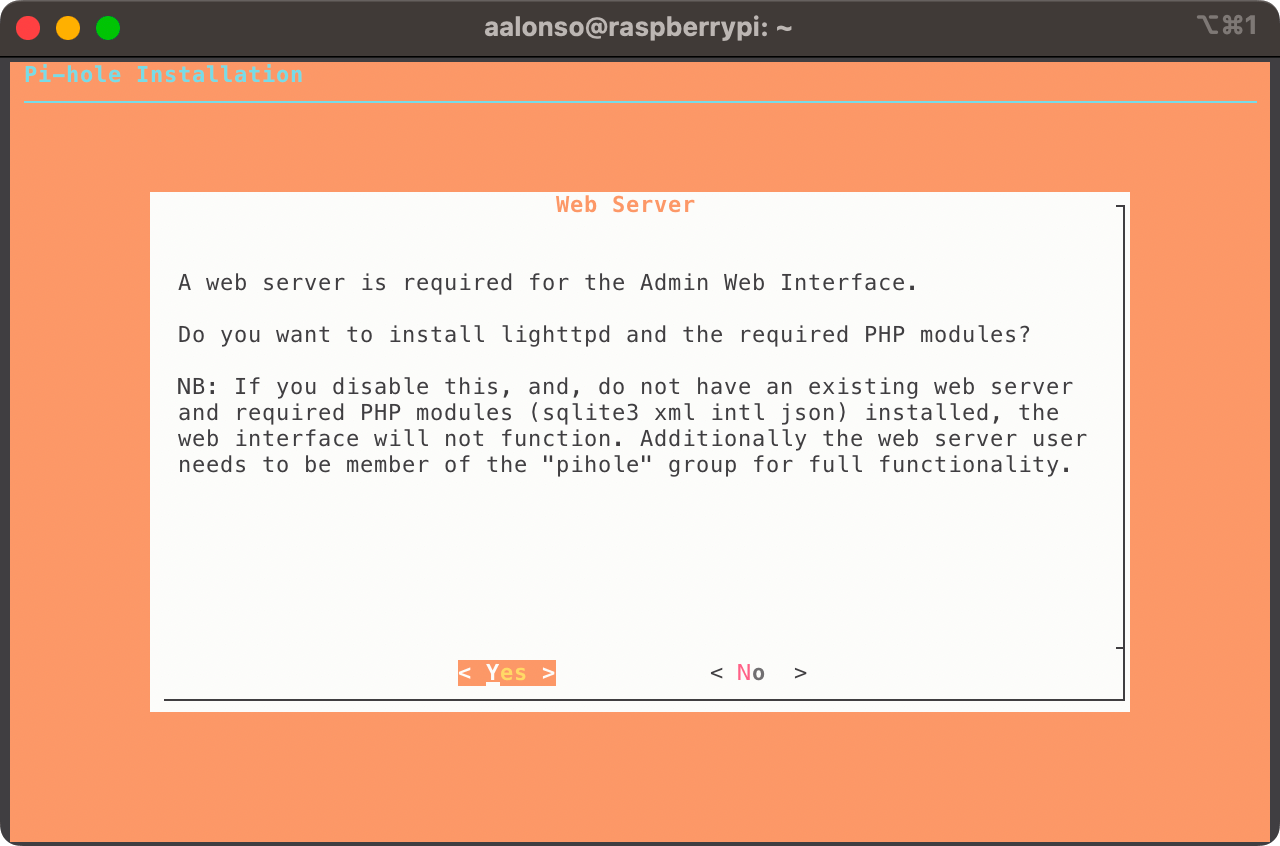
Click on image to enlarge
Now, the installer ask you about enabling logging. This will allow you to see the queries made to the DNS server, and it’s useful to debug issues. I recommend to enable it, but you can skip it if you want.
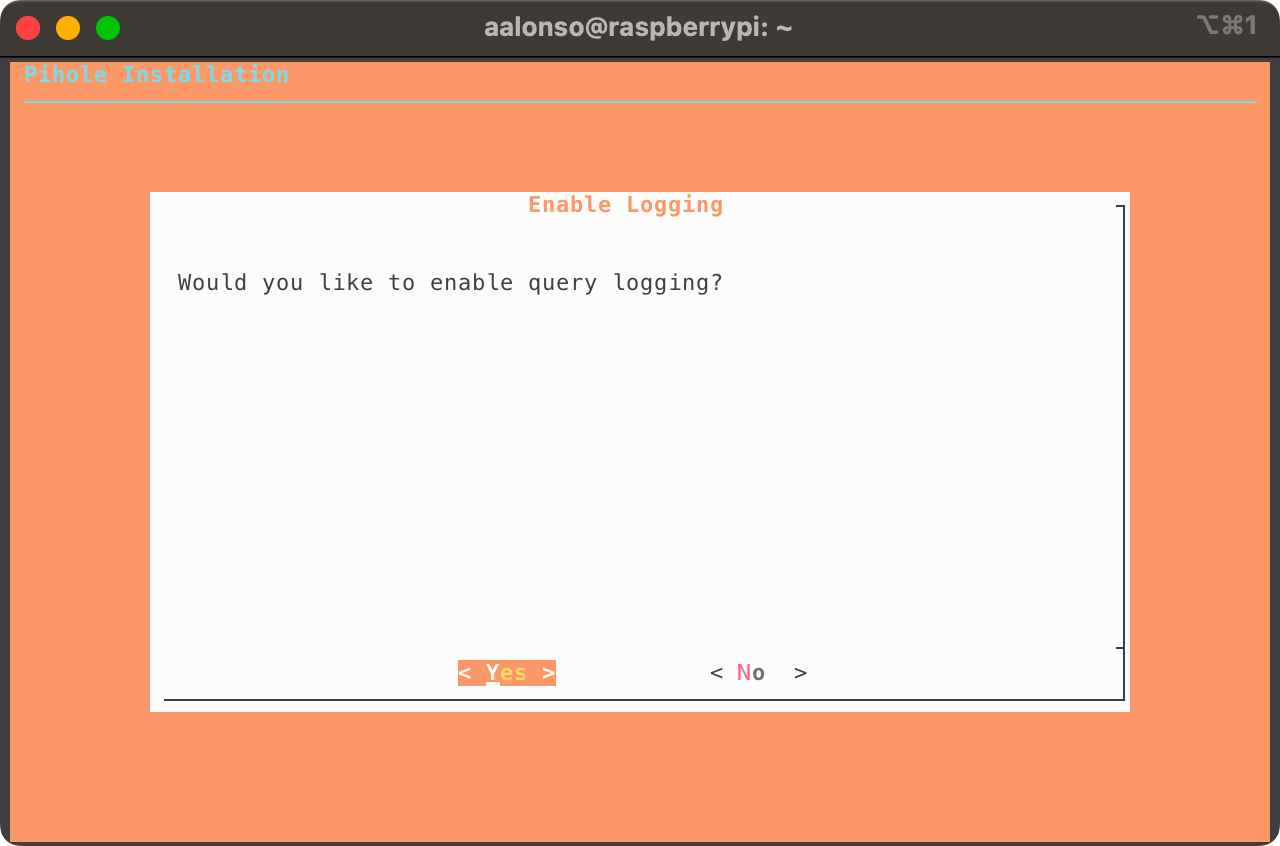
Click on image to enlarge
In case you enabled logging, you can set the logging level to be used. This could help to maintain the privacy of your network users, so the admin of the Pi-Hole server won’t be able to see the queries made by the users (i.e., what sites are they visiting). Using a restrictive privacy level will also affect the statistics shown in the admin web interface, as some of them will be disabled. You can learn more about logging leves in the official Pi-Hole docs. You can change this later if you want.
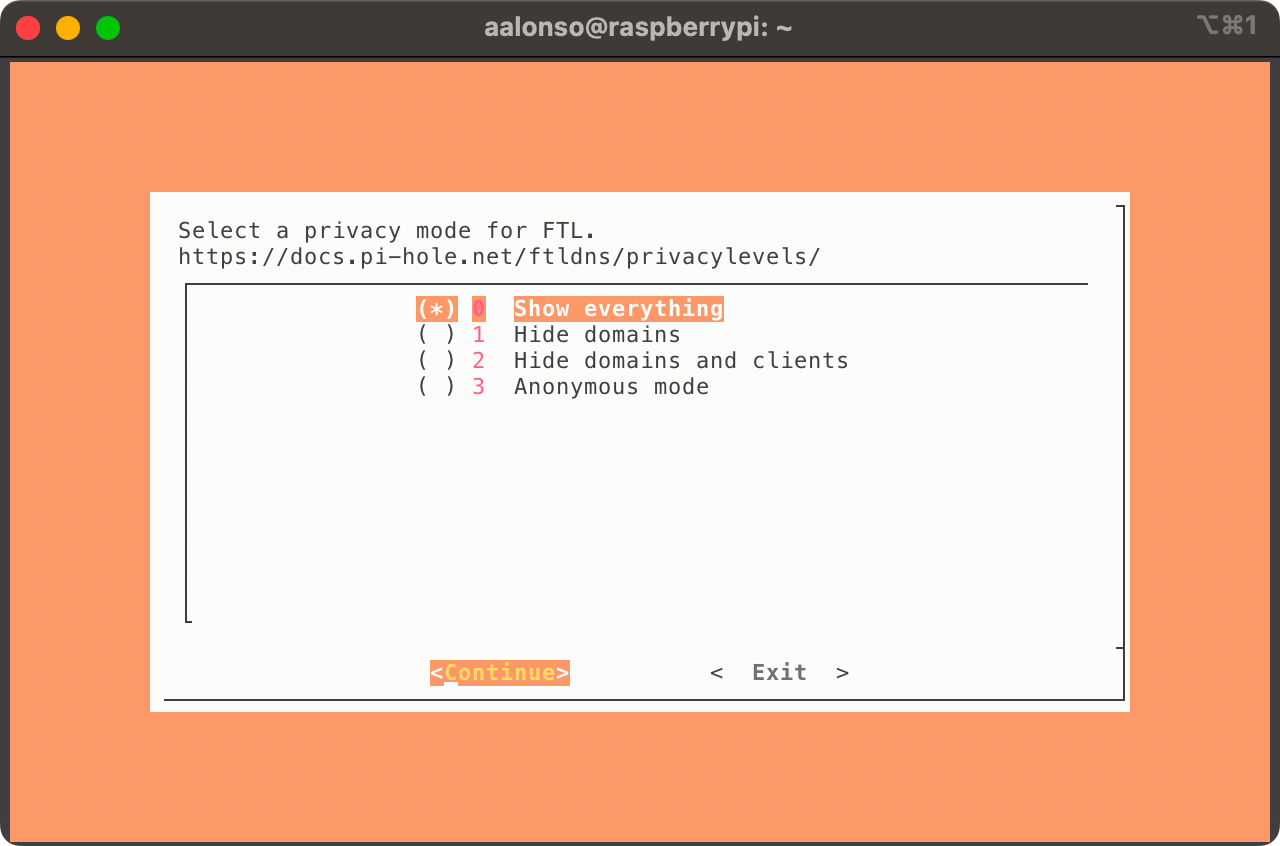
Click on image to enlarge
After that, the script will start to set up the Pi-Hole server and install the required dependencies, configure the overall system, etc. It may take a few moments, so be patient. After that, you’ll see a message like this:

Click on image to enlarge
Now, you can open your web browser and go to the IP address of your Raspberry Pi to access the admin web interface under http://<your-raspberry-ip>/admin. Use the password shown in the terminal to log in or change it before. You can change the password at any time by doing pihole -a -p in the terminal.
After logging in, you’ll gain access to the admin dashboard, from where you can configure your Pi-Hole DNS server, add, update or remove blocklists, check DNS statistics, etc. An example of the dashboard after some time of usage:
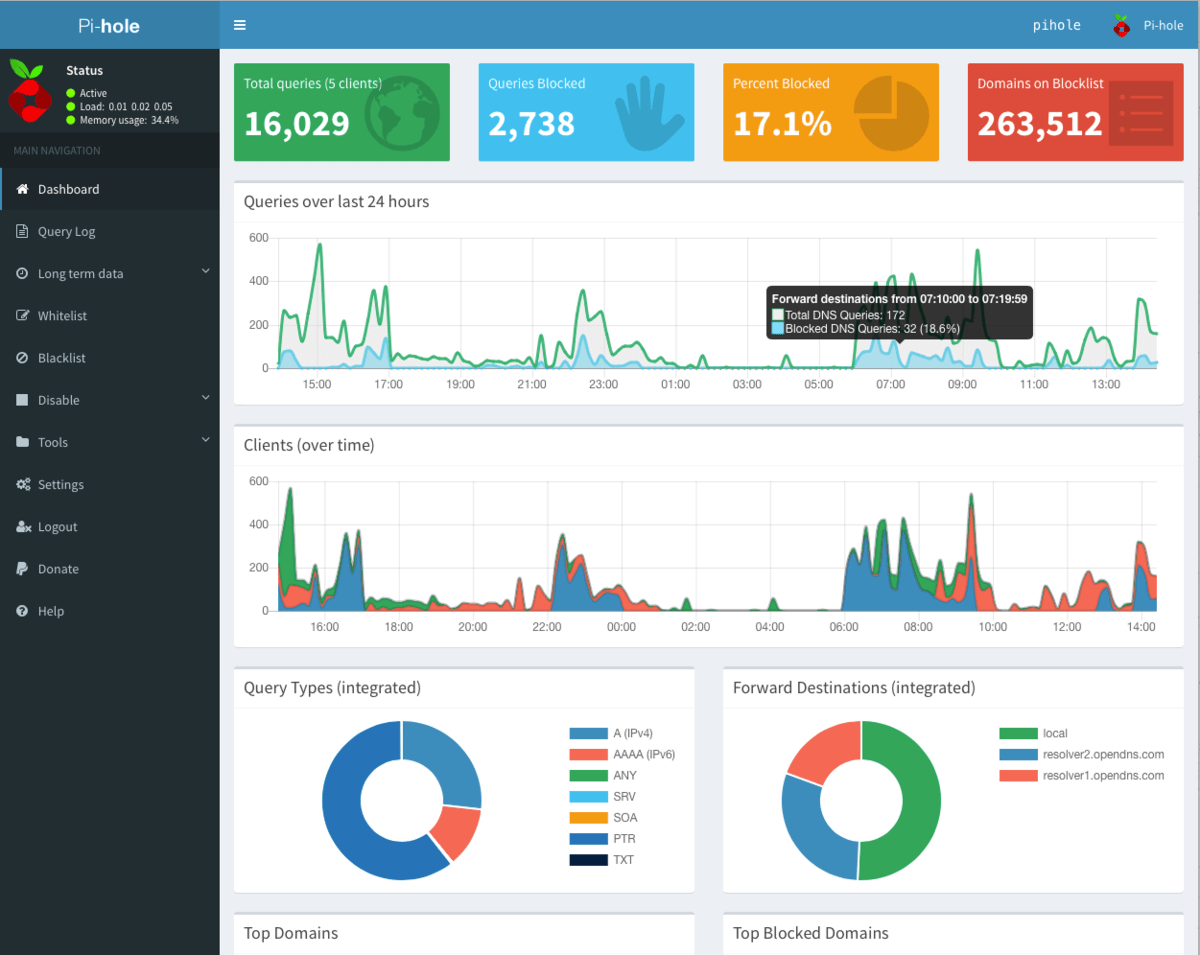
Click on image to enlarge
Now what?
Now, you only need to configure your devices to use your new DNS server. You can do it manually in each device, or you can configure your router to use the Pi-Hole DNS server. This way, all the devices in your network will use your new DNS server by default (if they where previously using the router DNS server and not a custom setup). Every device it’s different, so I suggest you to check the manual of your device or router to know how to do it.
If you accepted the default blocklist suggested by the installer during the installation, you’ll start to see some blocked queries in the admin dashboard, and you’ll be blocking ads in the devices using the Pi-Hole DNS out of the box. If you didn’t accepted the default blocklist, or want to manually fine tune it, you can do it in the admin dashboard under Adlists from the side menu. There are multiple options to do so, and multiple things to configure, so I recommend you taking a look at the official Pi-Hole documentation.