
How to clone a disk image to a Synology NAS over LAN with Clonezilla

Updated
6 min read
RSS feedAfter clean installing my PC with both Linux Mint and Windows 11, and after the initial configuration to my taste and installing my essential apps, I decided I wanted to create a disk image, so next time (or I really mess up) won’t take so much time. For that task, I decided to use the old and reliable tool that is the defacto standard for disk imaging and barebones restores among IT techs: Clonezilla.
As you might already now, I also have a Synology NAS server at home. So I wanted to store there the disk images, as I already have my NAS setup with proper redundancies and backups strategies.
This article intends to be very brief and straight forward. Just a reminder of what I need to do the next time I want to image a disk, and I hope it will also help other people with the same problem. First, let’s focus on what we need to setup in the Synology for this to work, then, we’ll take a look on the actual step-by-step instructions on Clonezilla.
Preparing the Synology NAS SFTP server
First, in order to be able to send the cloned image directly from Clonezilla to the Synology NAS over the network, we need to enable both SSH and SFTP server in Synology. This is just checking a checkbox in the DSM Control Panel app. SSH settings are under Control Panel > Terminal & SNMP > Terminal, while SFTP settings are under Control Panel > File Services > FTP.
Apart from that, I personally created a shared folder called Clonezilla (with capital letter ‘C"). I configured it as a compressed folder and disabled recycle bin, as I would store cold data (disk image backups) and I don’t need recycle bin functionality (I already have btrfs snapshots and other backups if I accidentally delete it). I gave my own user (the same I would use to connect to the Synology from Clonezilla) read and writte permissions. The rest of the settings are default, you don’t need to give “NFS permissions” to the folder or any other kind of permissions.
Now, let’s start with the proper disk imaging.
Imaging the disk with Clonezilla
First, we obviously need to prepare a bootable USB with Clonezilla. I won’t enter into too much detail here. Clonezilla have their own instructions on this, and is the same that when installing Linux or Windows.
Initial steps and Synology connection
So we boot up the Clonezilla Live Image (I selected the default option Clonezilla Live (VGA 800x600)) and then we:
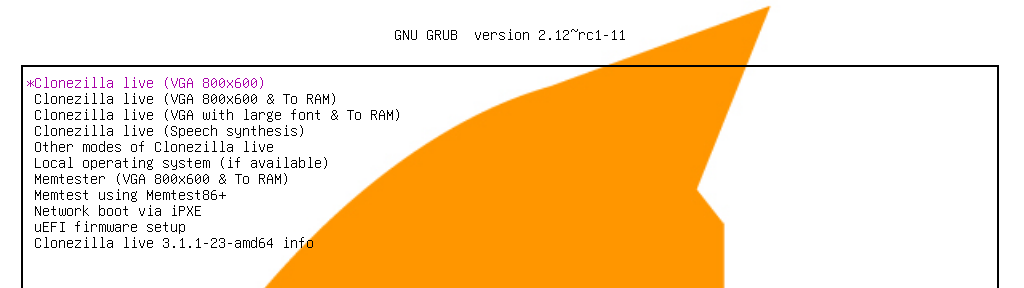
Click on image to enlarge
- Configure the language and keyboard (I’ll obviously use English language options for this guide).
- Start Clonezilla.
- Select
device-imagemode. - Select
ssh_serveras destination of the backup. - To configure the network, I just relied on the
dhcpauto option. - Then, introduce the local IP of your Synology NAS. Probably something like
192.168.1.X - Introduce the SSH port of your Synology SSH server. By default it’s
22. - Then, introduce your Synology username.
- Now, indicate the folder where we’ll store the backed up disk image. In my case, I put
/Clonezilla- IMPORTANT: you don’t need to indicate the volume to your folder or full Linux path in the Synology. Trying to provide a path like
/volume1/Clonezillawill end in a “No such file or directory error” when connecting to the server in the next step. - Also, ensure you allow to connect via SSH using password to your Synology NAS server. Otherwise, if you only allow access via SSH keys, Clonezilla won’t be able to connect to the server and you will get an error.
- IMPORTANT: you don’t need to indicate the volume to your folder or full Linux path in the Synology. Trying to provide a path like
- Finally, introduce your user password for the SSH connection to establish.
Actual backup, disk image options
Once the connection is established, it’s time to start with the disk imaging. I personally stick with the Beginner mode, as I don’t need anything fancy and I want to avoid possible mistakes. Here is how it follows:
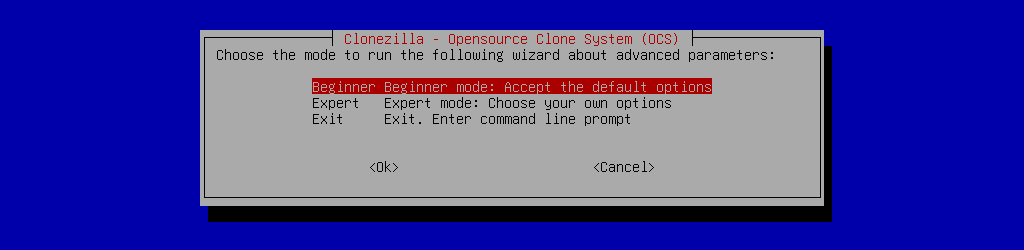
Click on image to enlarge
- As said, select
Beginnermode. - I want to clone the full disk, so I select
savediskoption, but it would also be possible to just image partitions withsavepartsoption.- Note: I will continue this guide with
savedisk, and I’m unsure how it changes if only cloning partitions.
- Note: I will continue this guide with
- Select what physical drive you want to image (in case you have more than one).
- Give a name to the backup, or accept the default one provided by Clonezilla.
- In my case, the Linux Mint partition was LUKS encrypted, so it gave me an option to introduce the LUKS password and clone the disk in an efficient manner regarding final image size.
- Regarding compression, I selected
z9pthat overall, as far as I googled, seems to have better performance, both in final image size and compression speed.z1pseems more like a legacy options for very old hardware. - Then, for some systems like Linux, it asks you if you want to automatically check/repair the source filesystem prior to making the image. If you are sure the source filesystem works fine, you can skip it with
sfsckas I did. Otherwise, you migh want to use another option. - Once the image is created, you can check if it’s restorable. I heavily encourage that, as it’s very quick and will save your ass in the future if you need the image and then you realize it doesn’t work. Checking the image now will prevent problems in the future, as any possible problem will be highlighted and you can take action now and be ready for the future.
- Clonezilla asks you if you want to encrypt the disk image. In my case, I selected not to (
senc), as I already have my Sinology drive encrypted at rest, and I don’t worry about anyone accessing the file when the NAS is up and running (I’m the only one with permissions in theClonezilla/folder, and also the only one with SSH and SFTP access). - Finally, you need to indicate to Clonezilla what to do after the image is created. I choose
-p chooseas I want to go back to my computer and see the status of everything, but you can tell it to automatically poweroff or reboot on finish. - Now, let it create the disk image, it might take a while. In my case, for a 100-200 GB installation on a 1 TB NVMe it took between 10-20 minutes on my hardware (time differs between systems, Linux and Windows).
- Note: initially it might say something like “X hours remaining”, but in my case, it dropped after a while.
And that’s it. You should be able to see your disk image in your Synology NAS server. I hope this article helped you. Until next time!