How to mount a Synology SHR1 disk on Linux (two disks volume - RAID1 with LVM)

6 min read
This tutorial is about how to access a single disk from a Synology SHR1 volume of 1 or 2 disks (RAID1 under the hood). If you have more disks or a different SHR configuration, Synology recently released an official tutorial on how to mount all disks on a PC to restore data.
Background story
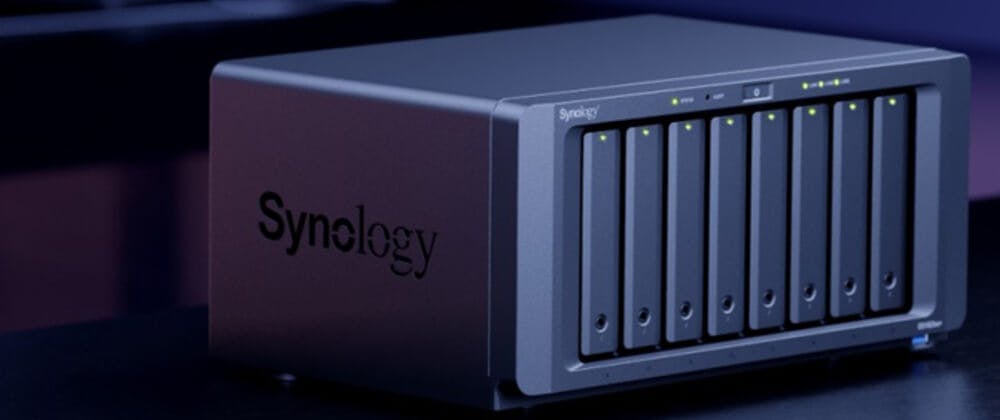
I have a Synology DS920+ NAS at home that I really love, and that I use for a tons of things. It holds family files (Synology Drive), family photos (Synology Photos), a Plex server, some Docker containers, and backups from other servers at home. Everything just works, and it has minimal maintenance. I cannot imagine my daily live without it anymore.
When I initially bought it back in 2020, I configured it with 2x 6TB disks in a SHR1 raid configuration. SHR1 is a Synology proprietary RAID configuration with redundancy of one disk (when you have at least two disks). Unlike traditional raid solutions like RAID1 or RAID5, that requires disks of the same size, or otherwise the available storage space is up to the size of the smaller disk, SHR1 is more flexible and allows you to add disks of different sizes to the volume and take advantage of the extra space.
How does SHR work? Under the hood, it uses LVM (Logical Volume Manager) to manage the disks and create different volumes with different sizes and raid configuration (it uses RAID1 when the volume takes two disks, and RAID 5 for 3+). If you are interested, you can read more about it in the Synology Knowledge Center and play with the Synology RAID Calculator.
Recently, I bought two new 8TB disks, and over the years, a few fancy features where released by Synology (like full volume encryption), so I decided to, instead to add the new disk on the empty slots and expand the volume, to reinstall with a new encrypted SHR1 volume with 1x 6TB and 2x 8TB disks, leaving the spare 6TB disk for quick-recovery local backups. Again, under the hood, this means two LVM volumes, one with 6TB and RAID5 (accross the three disks), and another with 2TB and RAID1 (both 8TB disks).
So I did that, and restored system configuration and critical data from my Synology C2 cloud backup with Hyper Backup. It took like a whole day for 2TB of data, but it worked like a charm. I restored data from the cloud backup because I took this opportunity to test my cloud backups setups, and with the assurance that I could restore my files (and other files not covered by the cloud backup) at any moment from the spare 6TB disks if something went wrong.
Until this moment, everything was fine. Then I tried mounting the old 6TB disk on my Linux desktop to access the files, and I had some trouble. I got one error after another, and I had to spend a few days investigating and trying different things to finally mount the disk and access the files. So I decided to write this article to help others that may have the same problem.
Please, if you try to do the same thing, ensure first you are able to access the files on the old disk from a Linux PC before you proceed with the new installation. I didn't do that, because I wrongly assumed that the disk would be mounted without any problem just out of the box. Luckily, I had a cloud backup of important files as I said, but I would have been freaked out if I didn't have it and just assumed that the files were safe on the old disk. Also, remember to always do a 3-2-1 backup strategy, with at least 3 copies of your data, 2 local but on different devices, and 1 offsite.
How to mount the Synology SHR1 (RAID1) disk on Linux and access its content
The first problem that I found was that modern Linux kernel (5.4+) doesn't support the old btrfs version used by Synology. To the date of writing this article (March 2024), Synology uses an old version of the Linux kernel (4.4.302+, under DSM 7.2.1), and includes some custom volume flags that are not supported by the mainline kernel, leading to an error when trying to mount the disk (from dmesg):
BTRFS critical (device sde6): corrupt leaf: root=1 block=31883264 slot=2, invalid root flags, have 0x400000000 expect mask 0x1000000000001
The solution I found was to setup a VM of Ubuntu Bionic Beaver, and install there a 4.15 kernel. I got the idea from a comment in the above linked Reddit post
# Installing the kernel in ubuntu
sudo apt install linux-image-4.15.0-108-generic
# Reboot and select it on the grub menu, inside the advanced options submenu
Then, we can proceed to mount the disk.
sudo mount /dev/sdb5 /mnt/synology
mount: /mnt/synology: unknown filesystem type 'linux_raid_member'.
Here we got the first error. As the disk was part of a RAID1 filesystem (remember, SHR1 with two disks is RAID1 with LVM), I first need to create a software RAID to mount it. Let's try to assemble it.
sudo mdadm --assemble --run /dev/md0 /dev/sdb5
mdadm: /dev/sdb5 is busy - skipping
Second error. It says the disk is busy, but it's not even mounted. Let's see what's happening.
sudo mdadm --examine /dev/sdb
/dev/sdb:
  MBR Magic : aa55
  Partition[0] :   4294967295 sectors at            1 (type ee)
Okay, let's see what is using it. I'll type ls /dev/md on my terminal and then press tab and see what auto-completes. In my case, it was /dev/md127. Let's stop it and try to create again the software RAID at /dev/md0
sudo mdadm --stop /dev/md127
sudo mdadm --assemble --run /dev/md0 /dev/sdb5
mdadm: /dev/md0 has been started with 1 drive (out of 2).
Our first success! We can ignore the warning about the missing disk, as we are only interested in mounting the disk to access the files. Let's try to mount it again.
sudo mount /dev/md0 /mnt/synology
mount: /mnt/synology: unknown filesystem type 'LVM2_member'.
Now that things were working we got another error. In that case, we found that our RAID1 disk was using LVM, which is how SHR works as I already explained. Let's see what LVM volumes are available using vgs
sudo vgs
VG     #PV #LV #SN Attr   VSize VFree
vg1000   1   1   0 wz--n- 5.45t    0
Okay, it seems like we have a volume group named vg1000. Let's mount the logical volume there.
sudo mount /dev/mapper/vg1000-lv /mnt/synology
Final success! The disk was successfully mounted and I could see all of its data in /mnt/synology. Phew!
Conclusion
From this experience, I learned a few things the hard way
- Don't expect that mounting a RAID1 disk will be as easy as mounting an external drive formatted with ext4 or nfts. It's not plug and play.
- Especially, if it's not RAID1 per se. In my case, it was a SHR1, that also includes a new actor I never dealt with before, LVM.
- Always have a backup of your data. I had a cloud backup of important files, but I would have been freaked out if I didn't have it and just assumed that the files were safe on the old disk.
I hope this article helps you to mount your Synology disk on Linux and access its content. Hopefully, you have wasted way less time than I did, until my article popped up on your search results. Lastly, today is March 31st (Backup Day!), so let me take this opportunity to remember you the importance of doing a good backup of your data. Have a nice day!
I hope my article has helped you, or at least, that you have enjoyed reading it. I do this for fun and I don't need money to keep the blog running. However, if you'd like to show your gratitude, you can pay for my next coffee(s) with a one-time donation of just $1.00. Thank you!